The steps below show how to start, display the Label Edit view, and change print genre.
Click the Start menu in the Windows task bar, then select Programs. Select CD-LabelPrint, then select CD-LabelPrint to start the application.
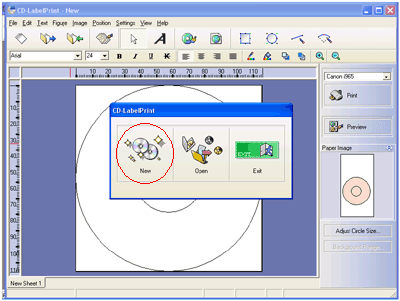
CD-LabelPrint start dialog box appears. Click the New button.
* If "A printer capable of printing on CD-R media was not found." message appears and you cannot start the application, install the driver of the printer that supports CD-LabelPrint, then start CD-LabelPrint.

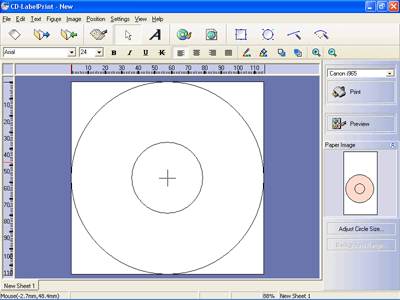
The Label Edit view appears.
From the Printer pull-down menu, select a printer model.
Now, you are ready to select your genre type.

Let's choose your paper genre! Click on
 for your media selections.
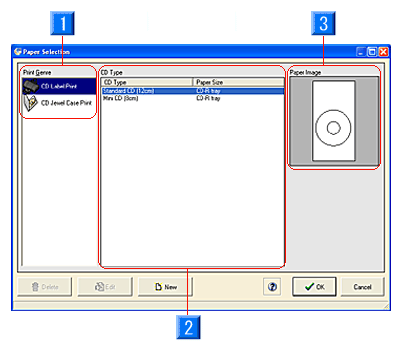
In the Paper Selection dialog box, select a medium (paper) to create.
Select (1) Print Genre. The appropriate media names appear in (2) CD Type. and click the OK button.

Here, CD Label Print is selected for (1) Print Genre, and Standard CD (12cm) is selected for (2) CD Type. Check the (3) Paper Image.