Next, you will add text, background, and images to design a label.
On the toolbar in the Label Edit view, click
Let's enter "My Favorite Songs".
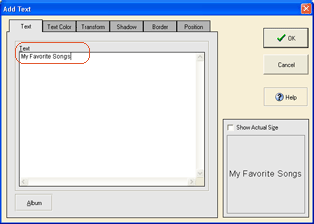
![]()
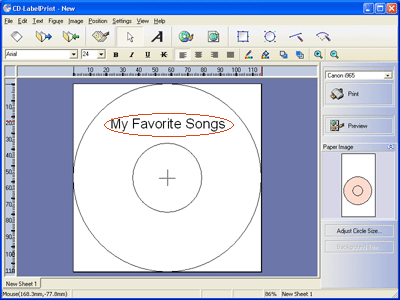
The text is placed in the center of the label. To move the text, drag and drop the text to any location.
* For details on adding/editing text, refer to "Functions > Adding Objects > Text".
On the toolbar in the Label Edit view, click
Select a type. A preview of the background images under the selected type appears. Switch to a different type and make a selection. You can also use TWAIN32-compliant devices, and saved files (BMP/JPEG/PCD/WMF/EMF).
Select a file, and click the OK button.
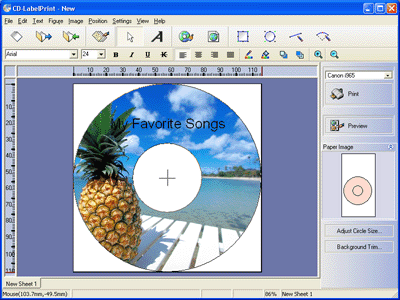
Background No. 3 under type Photo was selected.
* For details on adding/editing background, refer to "Functions > Adding Objects > Background".
On the toolbar in the Label Edit view, click
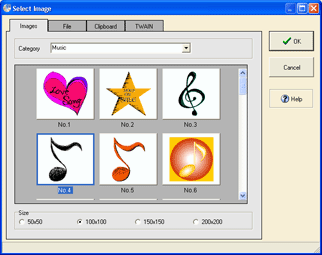
Select a category. A preview of the images under the selected category appears. There are images of various category. Switch to another category and make a selection. You can also use TWAIN32-compliant devices, and saved files (BMP/JPEG/PCD/WMF/EMF).
Select a file, and click the OK button.
![]()
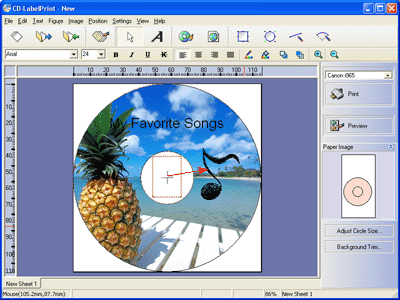
Image No. 4 in category Music was selected.
The image is placed in the center of the label. To move the image, drag and drop the image to any location.* For details on adding images, refer to "Functions > Adding Objects > Image".