On the toolbar in the Label Edit view, click
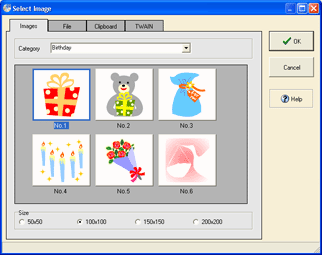
Select an image, and click the OK button.

There are already registered images in the Images. Here, image No. 1 in category Birthday is selected in the Images tab.
* To select other images, refer to "Functions > Editing Objects> Background/Image > Select an image".
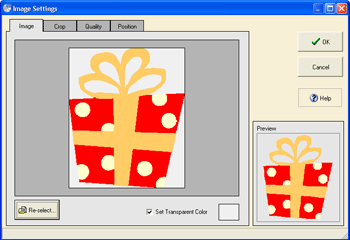
When you have finished selecting an image, Image Settings dialog
box appears. Here, you can cut the image, or adjust the quality and
position.

In the Image tab, you can set a transparent color. Place the cursor over the image, and click to set a transparent color. Here, white is used.
* For other adjustments, refer to "Functions > Editing Objects > Background/Image > Adjust an image".
When you have finished setting an image, click the OK button.
The Label Edit view shows an image with transparent color in the brown area.
To edit the placed image, double click the image.