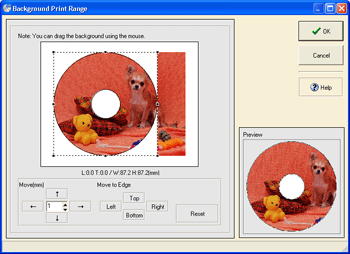
First, let's specify the print range of the background. In the Label Edit, click the Background Trim... button. Background Print Range dialog box appears.
If the center of the image cannot be displayed because of the inner circle of the CD label, adjust the cutout line to the right or left, so that you can see the image you want to display.
Adjust the size by dragging the dashed line or a black dot on the dotted line. You can also automatically adjust the print range position in the menu below the view.

Press the Reset button to initialize the position and size of the print range.
To tile the background image and to adjust quality, click ![]() on the toolbar in the Label Edit view. In the Background Settings dialog
box, click Quality >> button. Background Image
Adjustment dialog box appears. Adjust the image as you reference
the preview.
on the toolbar in the Label Edit view. In the Background Settings dialog
box, click Quality >> button. Background Image
Adjustment dialog box appears. Adjust the image as you reference
the preview.

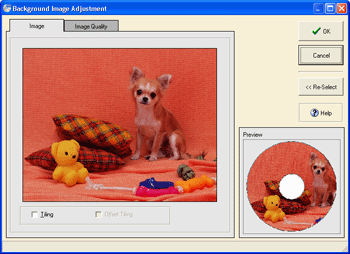
To select a different image, click << Re-Select button.
* To adjust an image, select an image in Select Image dialog box. Image Settings dialog box appears.
Check Tiling on in Image tab to tile the images.
The images will be displayed according to its original size.
Check Offset Tiling on to display to tile a half of the image
alternately.
* Select Tiling first, then check Offset
Tiling on.
* In the Image tab of an image, you will specify a transparent
color. For details, refer to "Functions > Adding Objects >
Image".
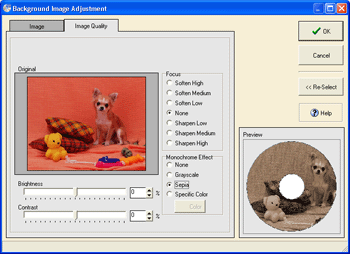
To adjust the quality of an image, select Image Quality tab.
Select a setting for focus, and click the OK button.
* To adjust the Brightness and Contrast,
move the slide bar horizontally, or enter a value directly.
* If you have selected Color for Monochrome
Effect,
select a color with the color picker.
